Wish to do more rather send basic Auto Response in Gmail. Auto Reply Pro Add-on makes life simpler and productive for Gmail and Gsuite users. It allows you to set sequential and multiple auto responses that trigger for different conditions. Not just auto replies for Gmail, now assign and send auto follow ups at predefined intervals to emails needing regular hand holding to close sales. The Auto follow up for gmails stop when a response is received or sent on email they are assigned to by the user.
In the Tutorial below we will guide you about how to install the add-on to your Gmail / Gsuite account.
If you have not installed the Add on yet, then please Click here to install Auto Reply Pro Add-on from Google Marketplace
Login to your Gmail/Gsuite account.On the right side bar click the [+] icon. 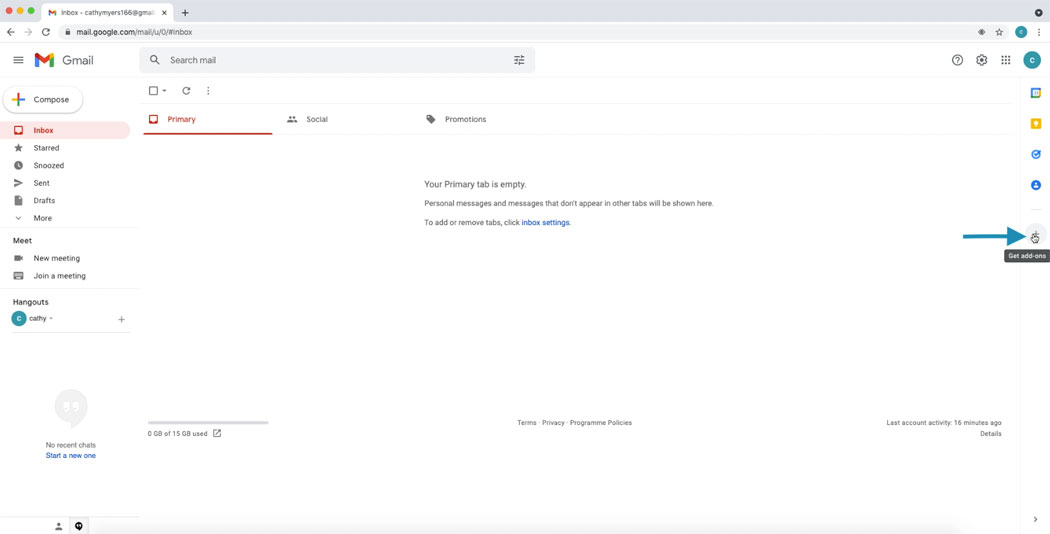
You can either click the plus icon or visit Gsuite market place by clicking here. Clicking the plus icon on right side bar brings up Gsuite Marketplace page with in Gmail. Now search for Auto Reply Pro. 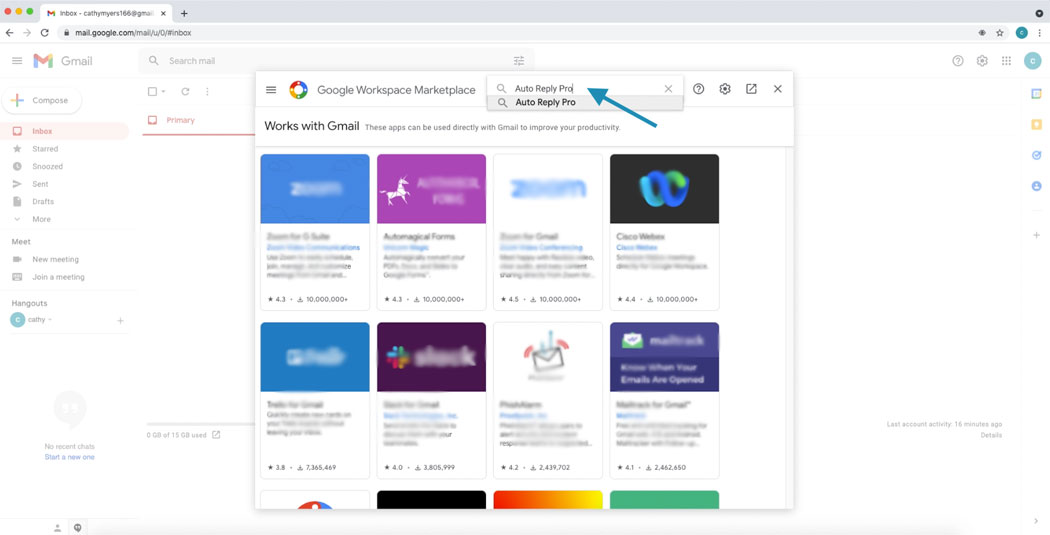
Once you see the listing for Auto Reply Pro, clicking on the listing will bring you to the Add on page in marketplace. Gmail Users will see a Install button. Please click the install button to proceed with installation.
Where as Gsuite Admins will see Individual and Domain install. If Gsuite users need the add-on for specific account, you may choose individual install. However, for domain wide quick install, please click Domain install. The roll out some times takes a day. But there is a tweak users can click the plus sign on the right side bar and this will refresh the install and Add-on might appear quickly in case of domain installations. 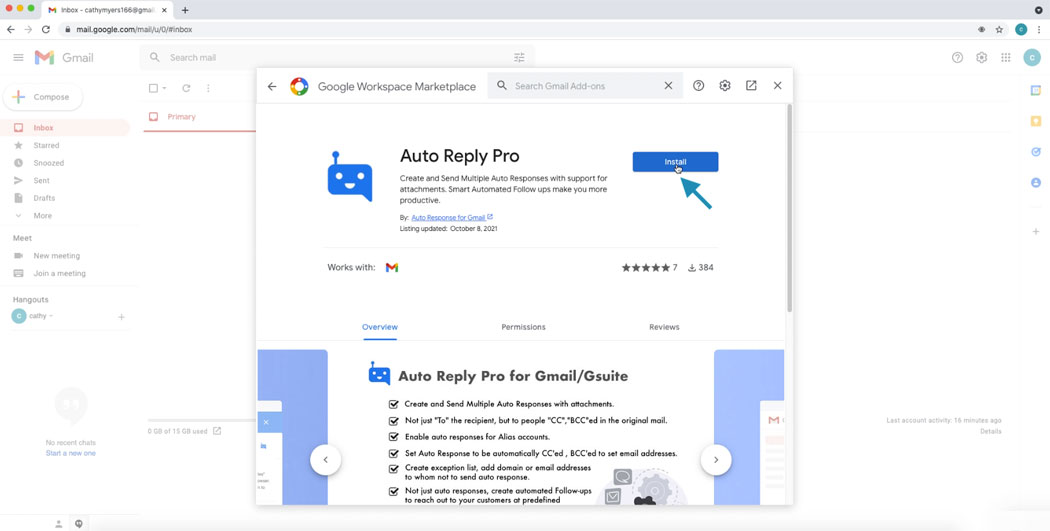
We recommend you sign in to the account you wish to install the Add-on to as primary account. To do that please sign out and first sign in to account you wish to install the Add-on.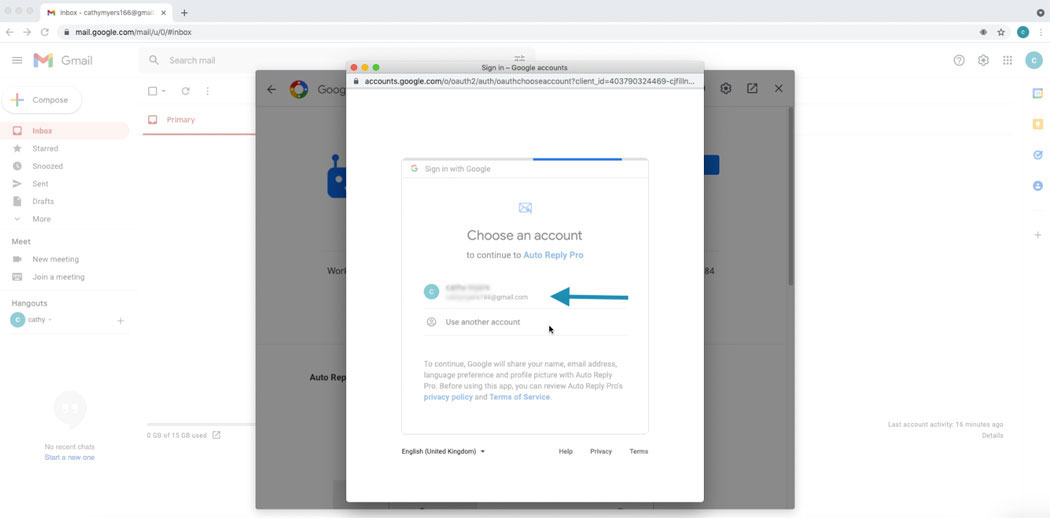
A Pop up will appear saying Getting ready to install, suggesting the add-on requires you to approve permissions. Click Continue to read the permissions required by the add-on.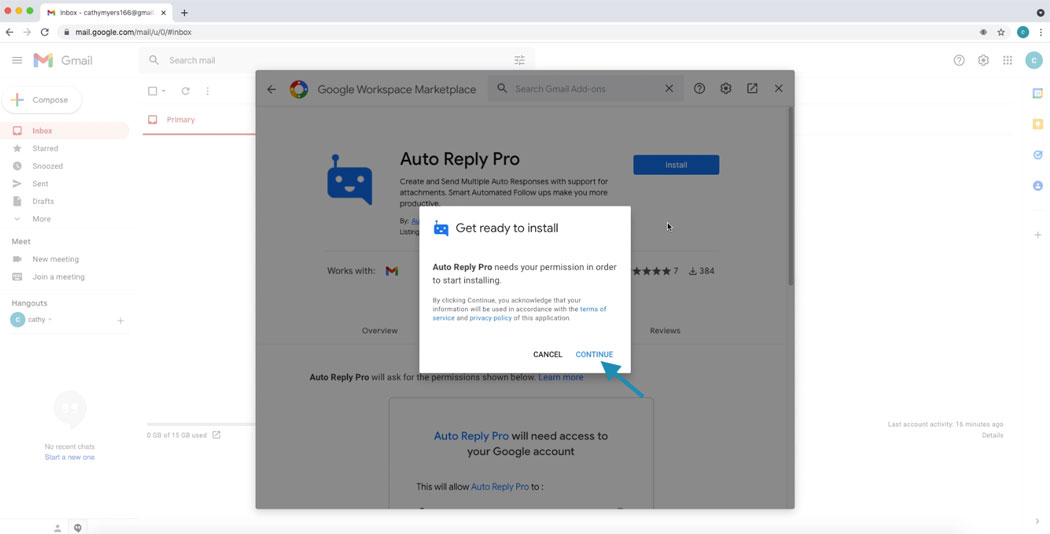
Please read the list of permissions required by add-on to function. The Add-on runs on Google Network and all your data is processed and stored with in your Google accounts. As a developer we don’t access or store your data. Click allow button to proceed with installation. 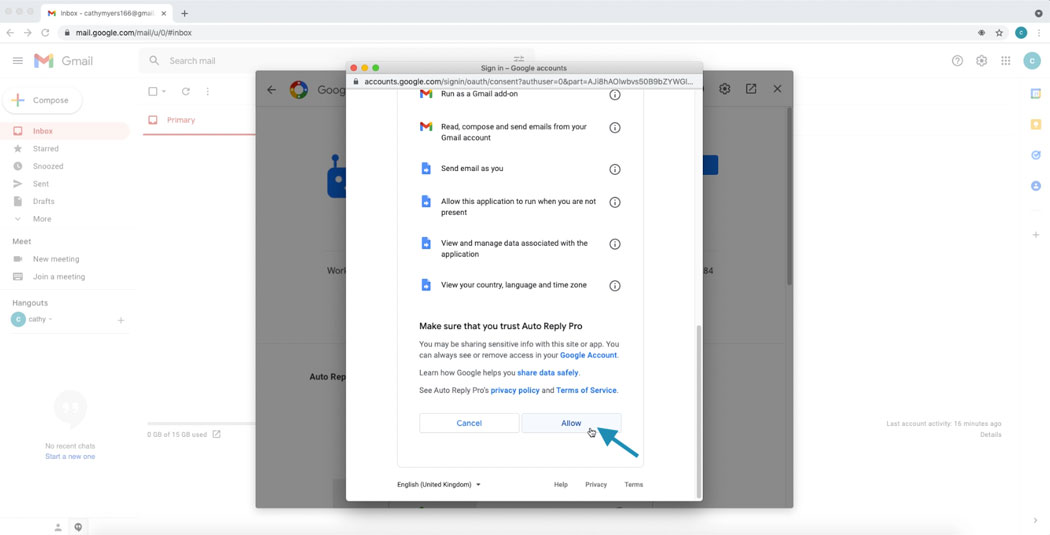
Installation is complete. Click done to continue and get started setting up Auto Replies and follow ups. 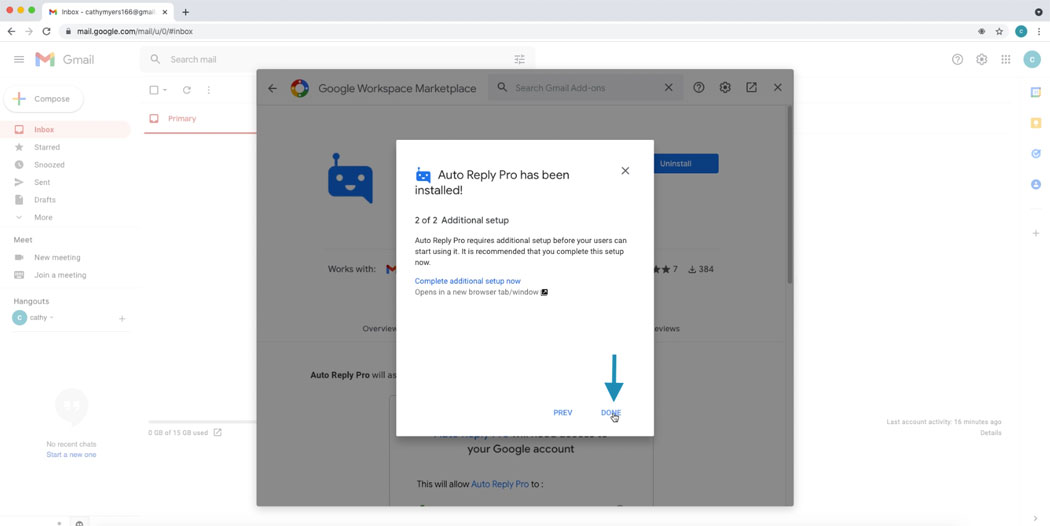
Installation is now complete and Add-on is ready for use and setting up new Auto Response Rules and Follow ups. 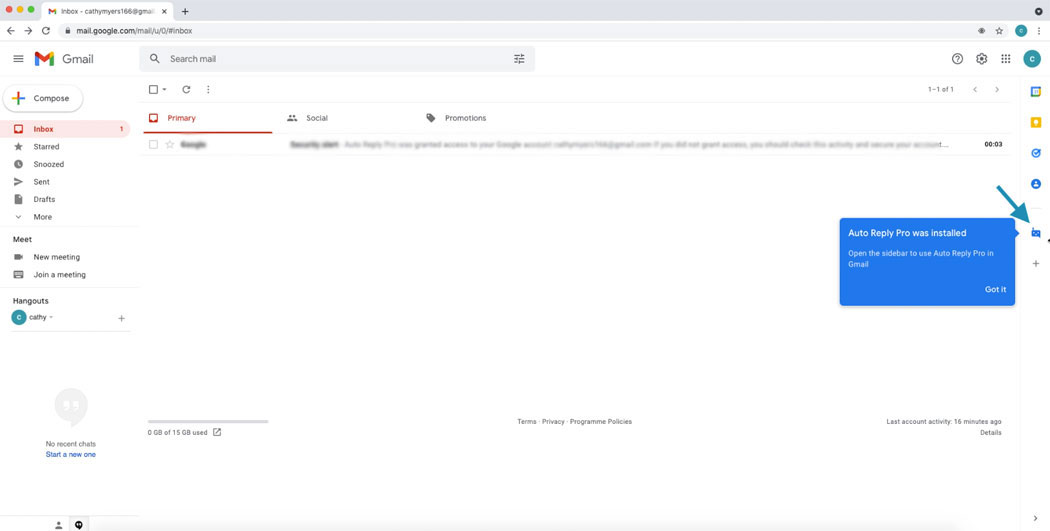
Click on the Add-on icon in right side bar in Gmail to Get started with setting up new Auto Reply rules and setting up Automated Follow up emails.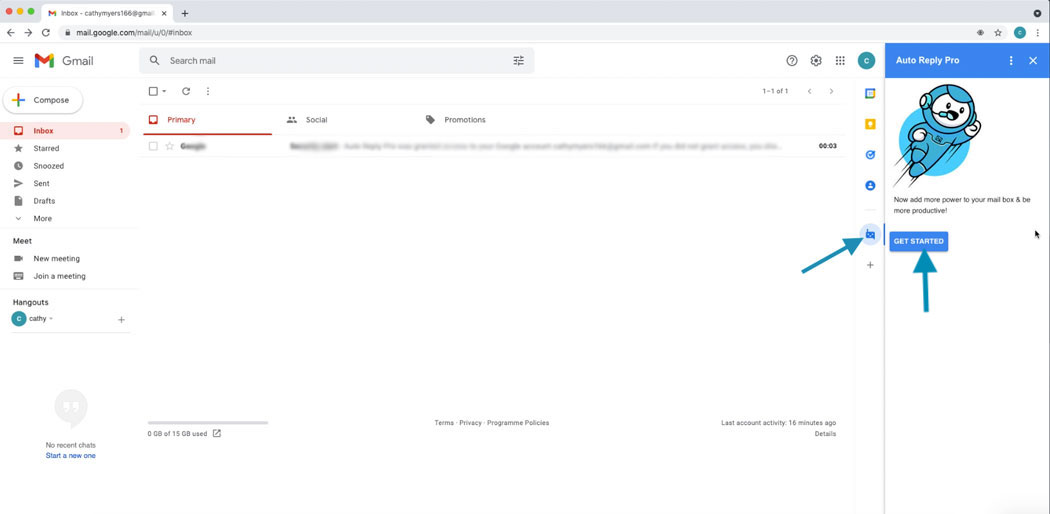
a) To get started with setting up auto response rules click the “Add / Manage Rules” button to open the Auto Reply App in Browser.
b) If you’re logged into multiple Google Accounts in same browser. To access Auto Reply App, please Log out log in to the account as a primary account in which the Add-on is installed and you wish to use. Alternatively, you may Log in to this Account in incognito window / private window in Browser.
c) Please allow pop-ups for Gmail in Browser. Read point 11 to learn how to allow pop-ups for Gmail.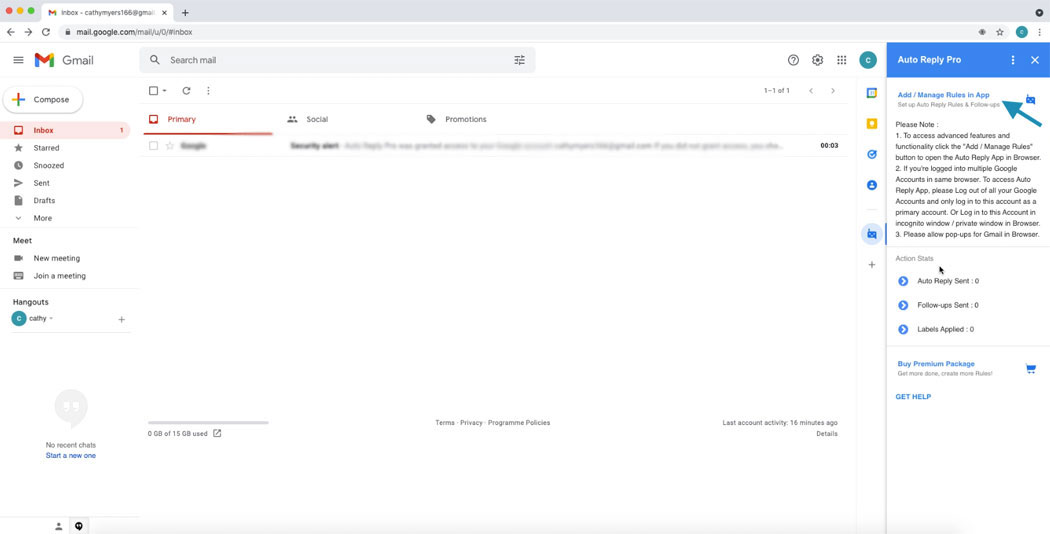
a) In case you notice a Pop up blocked notification, while trying to open dashboard from Gmail.
b) In the address bar, click Pop-up blocked see image below.
c) Click the link for the pop-up you want to see.
d) To always see pop-ups for the site, select Always allow pop-ups and redirects from [site] > Done.
When you login for the first time you are presented with option to Add a new Auto Reply or Follow up. 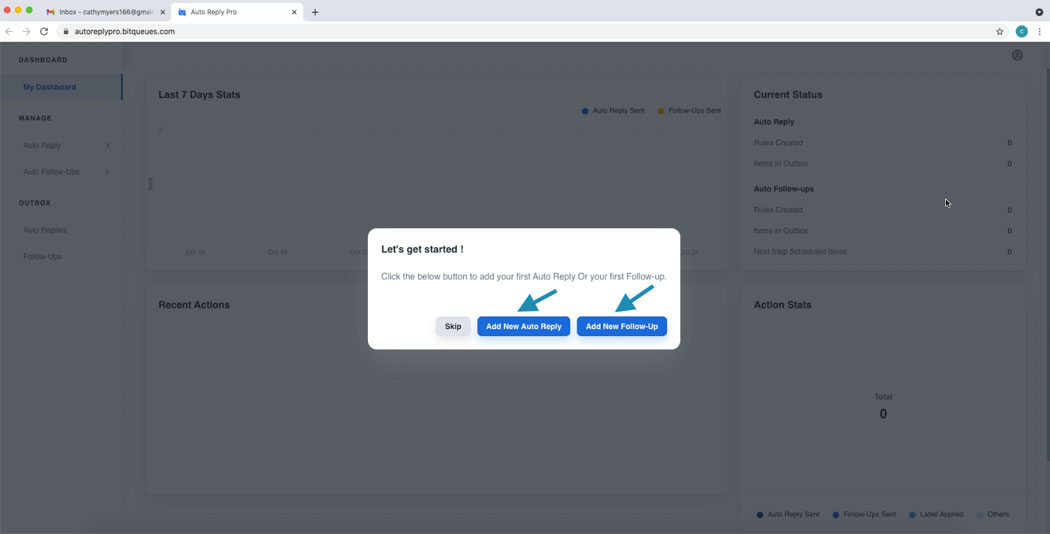
Learn more about adding new Auto Reply (Click here) and setting Follow ups (Click here).